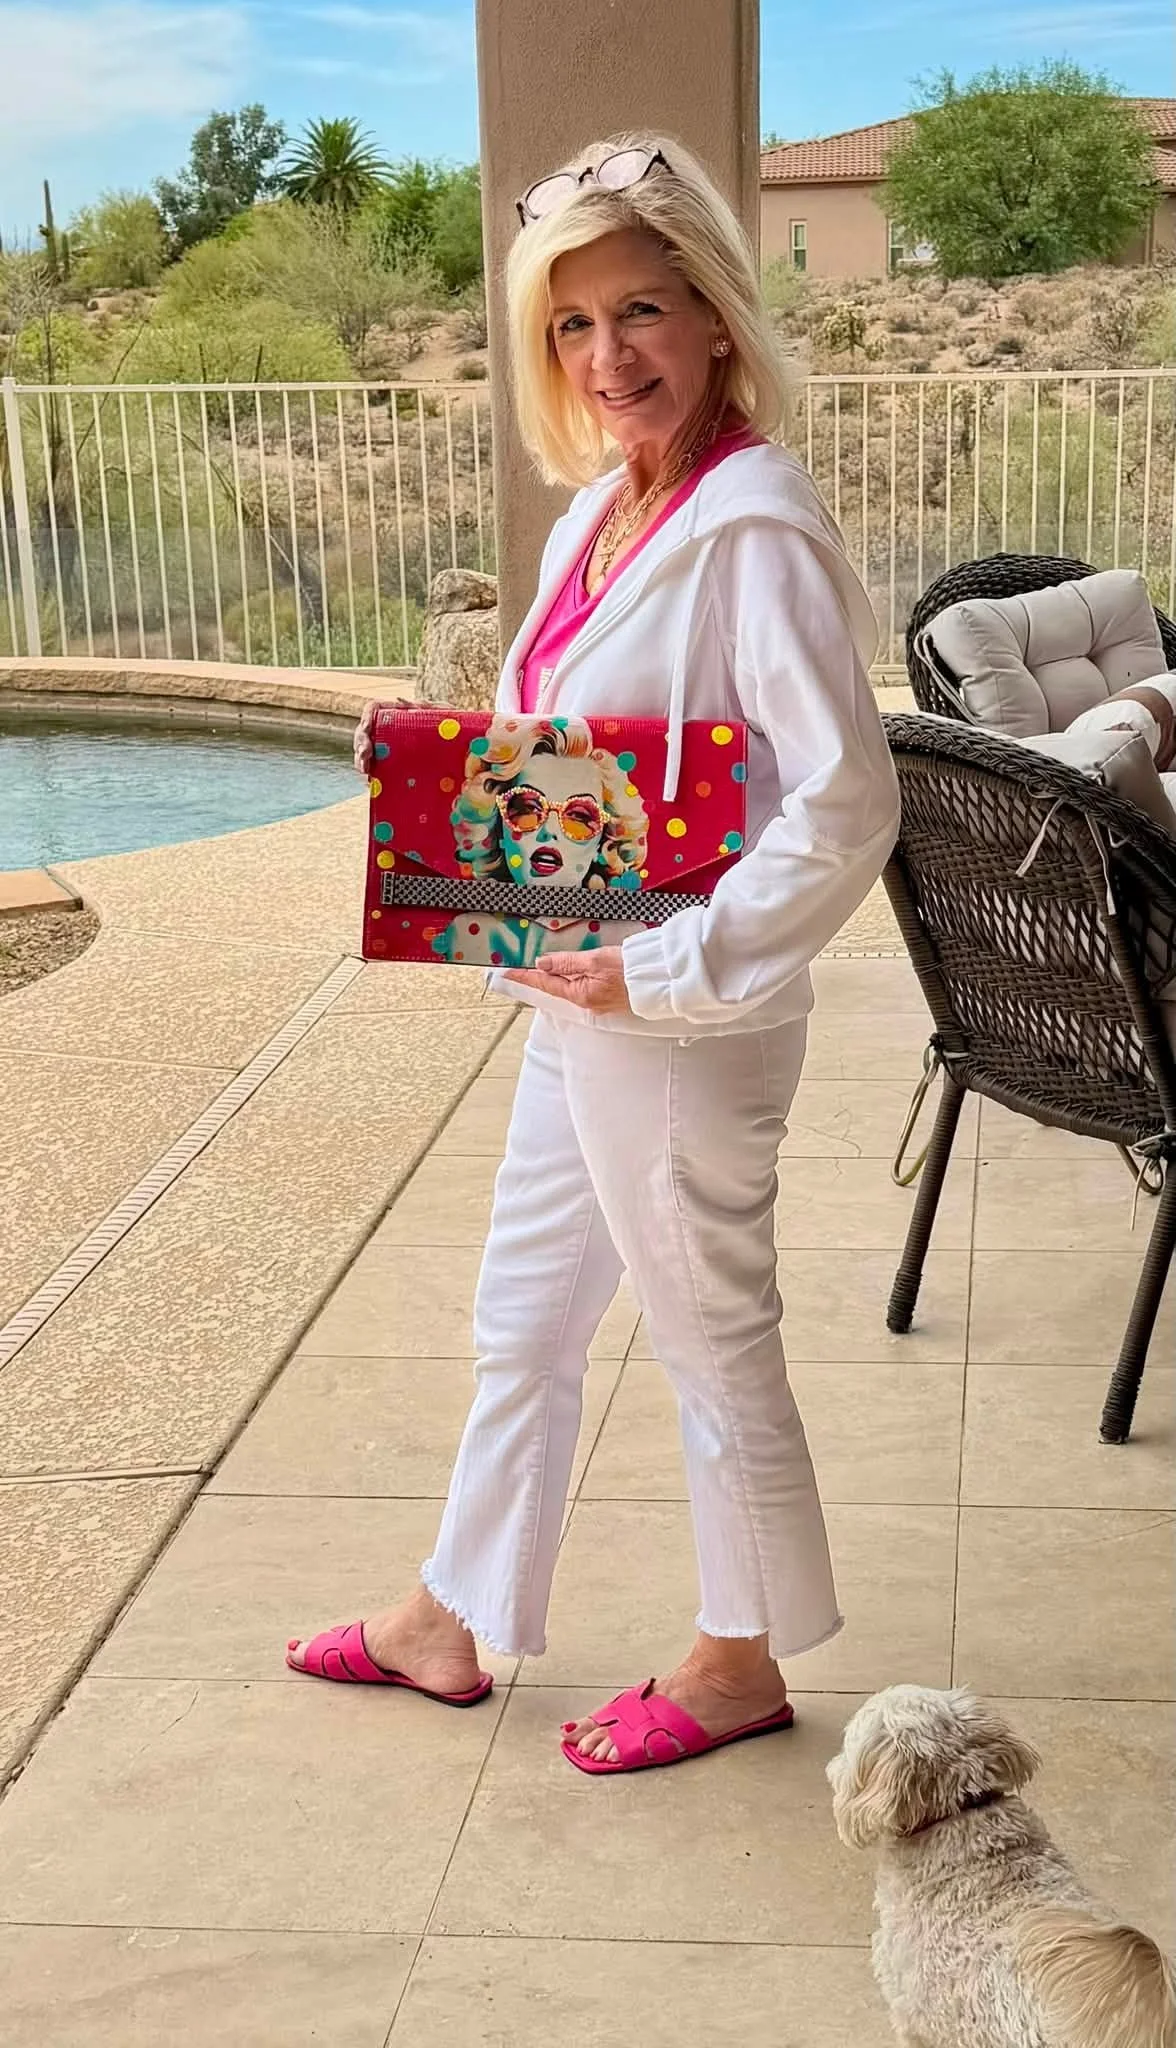
Marilyn Monroe Clutch Purse
Decoupage, Color Matching & Polka Dots in Under an Hour
This tutorial walks you through creating a one-of-a-kind Marilyn Monroe clutch purse from a $6 thrift store find — and the entire project comes together in about an hour. It's not just a decoupage project, though. This one covers color matching, background painting, the two-sheet trick for flip-top purses, and multi-size polka dot finishing that makes the whole thing look like it came from a boutique.
The purse is a Zara Basics clutch from the Salvation Army in like-new condition. The first step is treating the entire surface with Dixie Belle Clear Bonding Boss — a bonding primer that ensures paint sticks to pleather without chipping off. Without this step, everything you put on top is at risk of peeling.
The decoupage paper is a gorgeous Marilyn Monroe print from V Flex Shop ($5 per sheet). The key technique for a flip-top purse is buying two sheets of the same paper — one for the front and one for the inside under the flap — so Marilyn's image appears seamlessly when the purse is closed and matches beautifully when you open it. Without the second sheet, lifting the flap would show just her lower half, which looks strange.
Before any paper goes down, the image placement is outlined with pencil so the background gets painted everywhere except behind Marilyn. The background must stay light (cream or white) under the decoupage — painting red underneath would bleed through and ruin the image. The rest of the purse gets a custom-mixed raspberry red using DecoArt Santa Red and Wild Berry, which together create an almost exact match to the paper's background color. A touch of the darker Wild Berry along the edges adds subtle shadow that makes the painted background look like a natural extension of the paper.
The decoupage goes down with Mod Podge Multi in a gloss finish, applied a little at a time to avoid wrinkles. The bottom gets affixed completely before the top, which prevents buckling. Once dry, the finishing touches bring everything to life: multi-colored polka dots in yellow, pink, blue, and orange applied with finger daubers and the end of a paintbrush, black and crystal rhinestone trim across the flap strap, black crystal bling framing the quote area, and a printed Marilyn quote (free from Google Images) on the inside.
The tutorial also covers painting the inside of the purse to match the exterior, swapping straps for a cleaner look, and why buying two of every decoupage paper is a habit worth building. The whole project is done in under an hour — and the kind of thing that makes strangers stop you and ask where you got your purse.
Supply List
Some links may be affiliate links — thank you for supporting Studio MDAZ!
The Purse
Zara Basics clutch — Salvation Army, $6 (pleather, like-new; look for clutches with flip tops at any thrift store)
Decoupage Paper
Marilyn Monroe decoupage paper — V Flex Shop: http://vflex.shop ($5/sheet — buy 2 for front + inside; browse the shop for the Marilyn design)
Prep & Adhesives
Dixie Belle Clear Bonding Boss: https://amzn.to/447ZJSh (apply to entire purse first; use gray for dark or previously stained pieces)
Mod Podge Multi — Gloss finish: https://amzn.to/4vasybC (apply a little at a time; do bottom before top to prevent wrinkles)
Liquitex High Gloss Varnish: https://amzn.to/4wrvlOJ (final sealer)
Paint
DecoArt Santa Red (base color for background mix)
DecoArt Wild Berry (mixed with Santa Red for exact paper match; used alone for edge shading)
Polka dot colors: Yellow, Pink, Blue, Orange (basic acrylics in small bottles)
Rhinestones & Bling
Black/Crystal bling for strap: https://amzn.to/4vLSFqz (alternate colors for every-other-row pattern)
Black crystal bling around quote area: https://amzn.to/4gmBM0J
3mm Yellow, Pink, Orange Resin Rhinestones: https://amzn.to/4y63LYQ
Tools & Extras
Paint Bottle Nozzles: https://amzn.to/4eMcA2G (screw onto paint bottles for easy pouring)
UV Resin: https://amzn.to/3Th7FOC (for rhinestone glasses projects — mentioned in tutorial)
Finger daubers (for polka dots — various sizes create depth)
Stiff-edged brush (for background painting up to paper edges)
Detail brush (for tight areas around decoupage)
Pencil (for outlining image placement before painting)
Free printable quotes — Google Images (search any name → Images tab → print)