How to Paint & Decoupage a Straw Hat
In this fun and approachable tutorial, Debbie from Studio Mdaz takes a basic straw hat and turns it into a one-of-a-kind wearable work of art — and she does it in just about an hour. Whether you want to make something special for a garden party, a trip with girlfriends, a summer event, or just because, this project is proof that a little paint and a few napkins can go a very long way.
You'll start by learning how to properly prep a straw hat for painting — including why a clear coat primer matters, how to mix acrylic paint with a fabric medium so the hat stays flexible and wearable, and how a quick pass with a gator sander knocks off any stiffness without removing your paint. Then comes the fun part: Debbie walks you through separating napkin plies and decoupaging individual floral and leaf cutouts directly onto the hat with Mod Podge Multi, showing exactly how the napkin molds itself to the curved surface without wrinkles for a look that appears completely hand-painted.
From there, you'll learn how to paint bold pink and coral stripes across the brim using a water-soluble colored pencil to keep them even, how to mix Folk Art Hot Pink and Pink Melon with white to create soft, layered tones, and how to use DecoArt Lush Green to paint dimensional leaves that tie all the florals together. Debbie also shares her technique for painting right over napkin flowers to tone down colors that are too bright — a lifesaving trick when things don't go as planned.
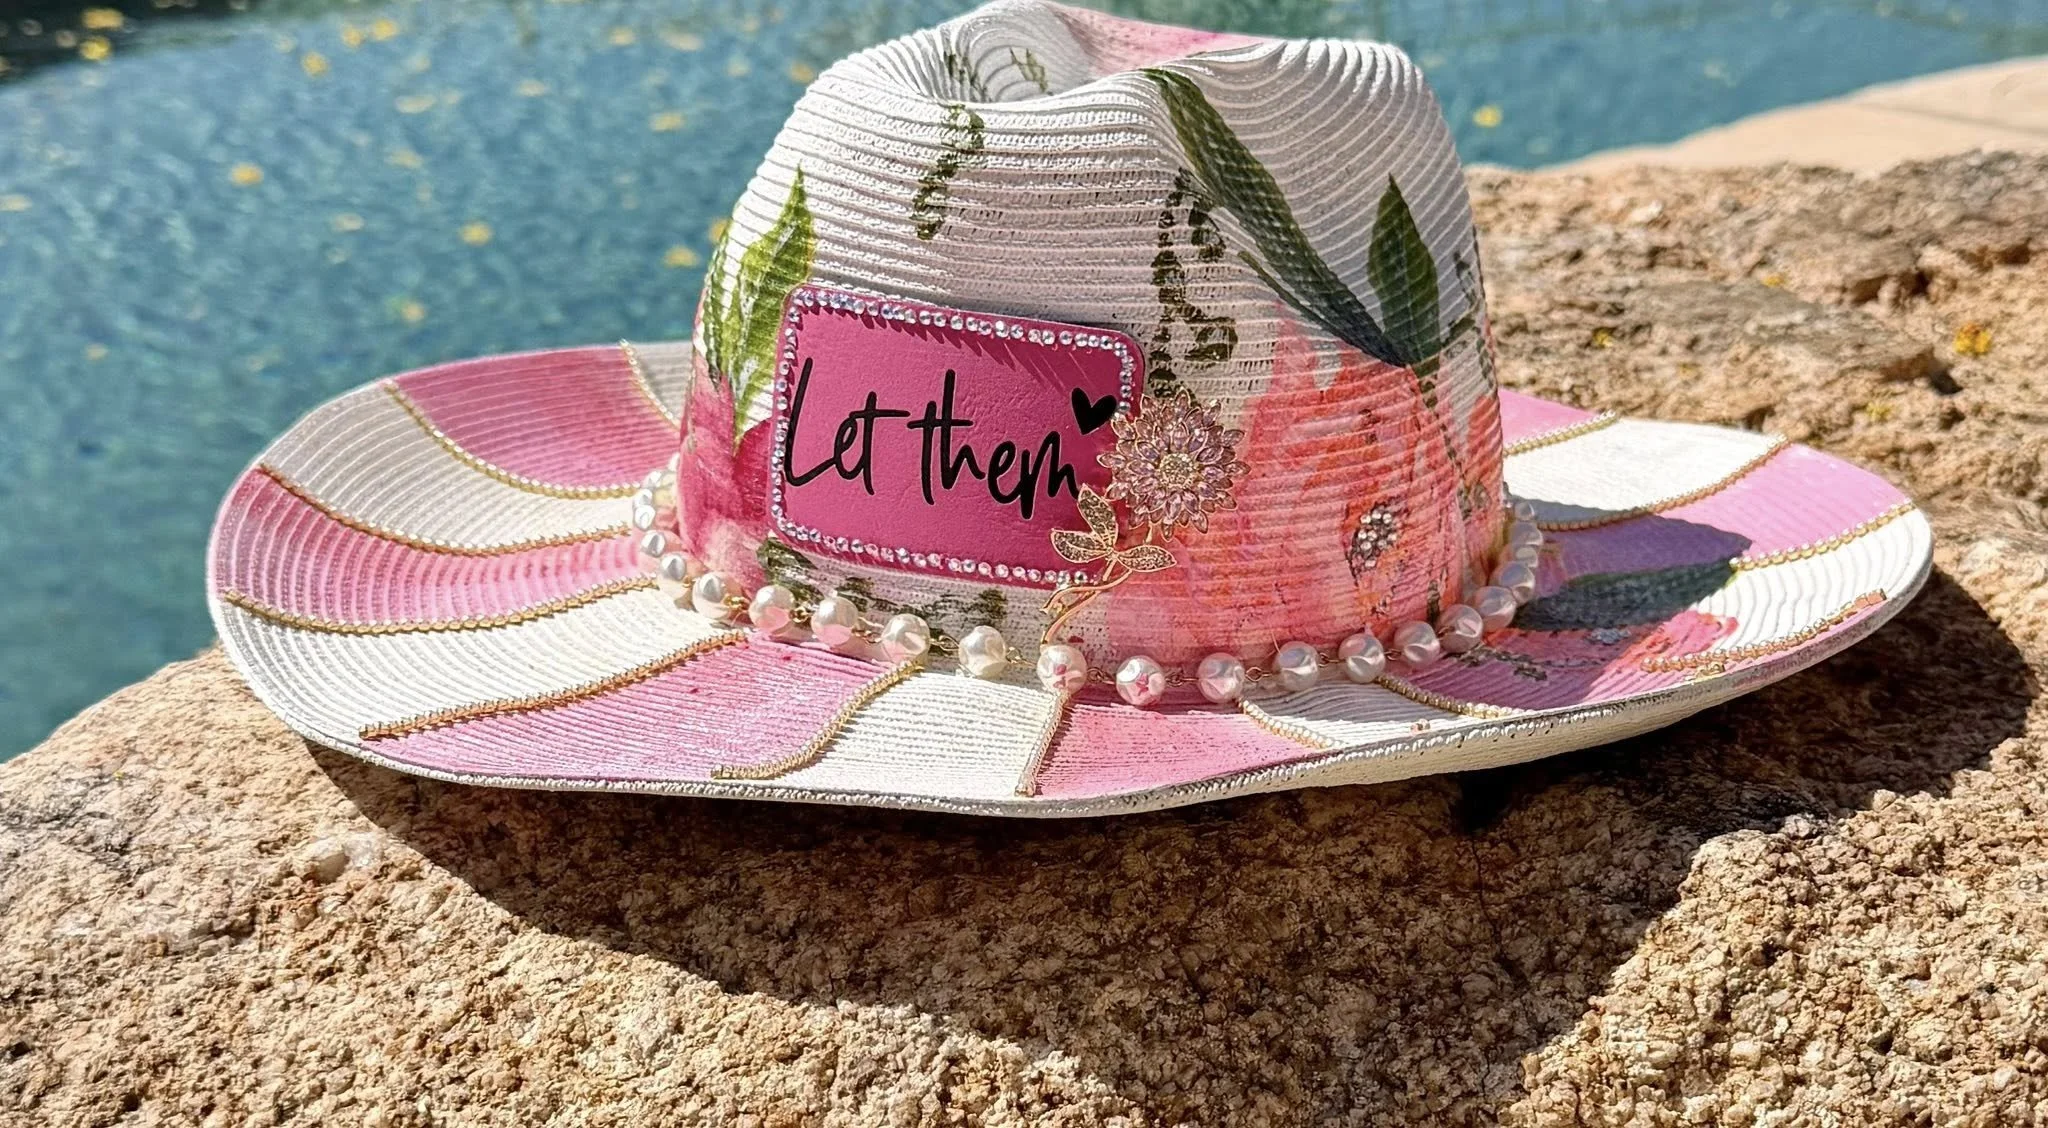
For finishing touches, you'll see how to attach a custom "Let Them" leather patch using Tanners Tandy Leather Tape and hot glue, add a strand of pearl trim around the hat band with T8000 adhesive, and accent each stripe with tiny pearl bead details. The whole project is sealed with Liquitex High Gloss Varnish for a beautiful, lasting sheen. This hat would easily sell for $70–$80 at a craft show — and you'll be amazed you made it yourself.
🛒 Supply List
The Hat
Straw hat — San Diego Hat Co. or any straw hat from Amazon, TJ Maxx, or thrift stores
Prep
Dixie Belle Clear Coat Satin (or any clear primer)
Small gator/orbital sander
White acrylic paint (base coat)
Decoupage
Floral paper napkins (any brand — separate plies before use)
Mod Podge Multi
Small to medium paintbrushes
Fabric Medium
Pentart Fabric Medium — vintageretailtherapy.com
Paint Colors
Folk Art Hot Pink
Folk Art Pink Melon
DecoArt Lush Green (for leaves)
White acrylic paint
Coral accent paint (optional, for dimension)
Tools
Water-soluble colored pencil (pink, for marking even stripes)
Small detail brushes
Fan brush or wide soft brush (for stripes)
Small scissors (for cutting napkin motifs)
Patch
"Let Them" leather patch — private message Carmen Sanchez-Fendricks on Facebook
Adhesives
Tanners Tandy Leather Tape — Amazon
Hot glue gun + glue sticks
T8000 clear adhesive (for pearl trim details)
Trim & Embellishments
Pearl tiny bling trim — Amazon
Pearl necklace strand or pearl bead trim (for hat band)
Decorative brooch (optional accent)
Sealer
Liquitex High Gloss Varnish (Hobby Lobby, Michaels, or Amazon)